The T@B is designed with a specific problem in mind: how do you create a trailer that tows like a small load and lives like a real camp? The teardrop shape solves that, but it leaves something out.
The T@B Sun Canopy solves the next problem. It extends the living space outside the trailer - a shaded area for morning coffee, afternoon meals, and the kind of sitting that happens when camp is set and there's nowhere else to be. It follows the trailer's unique curves. It weighs little enough that it doesn't change how the T@B travels.
This guide covers what the Sun Canopy is, how it fits your trailer, and how to set it up.
What It Is
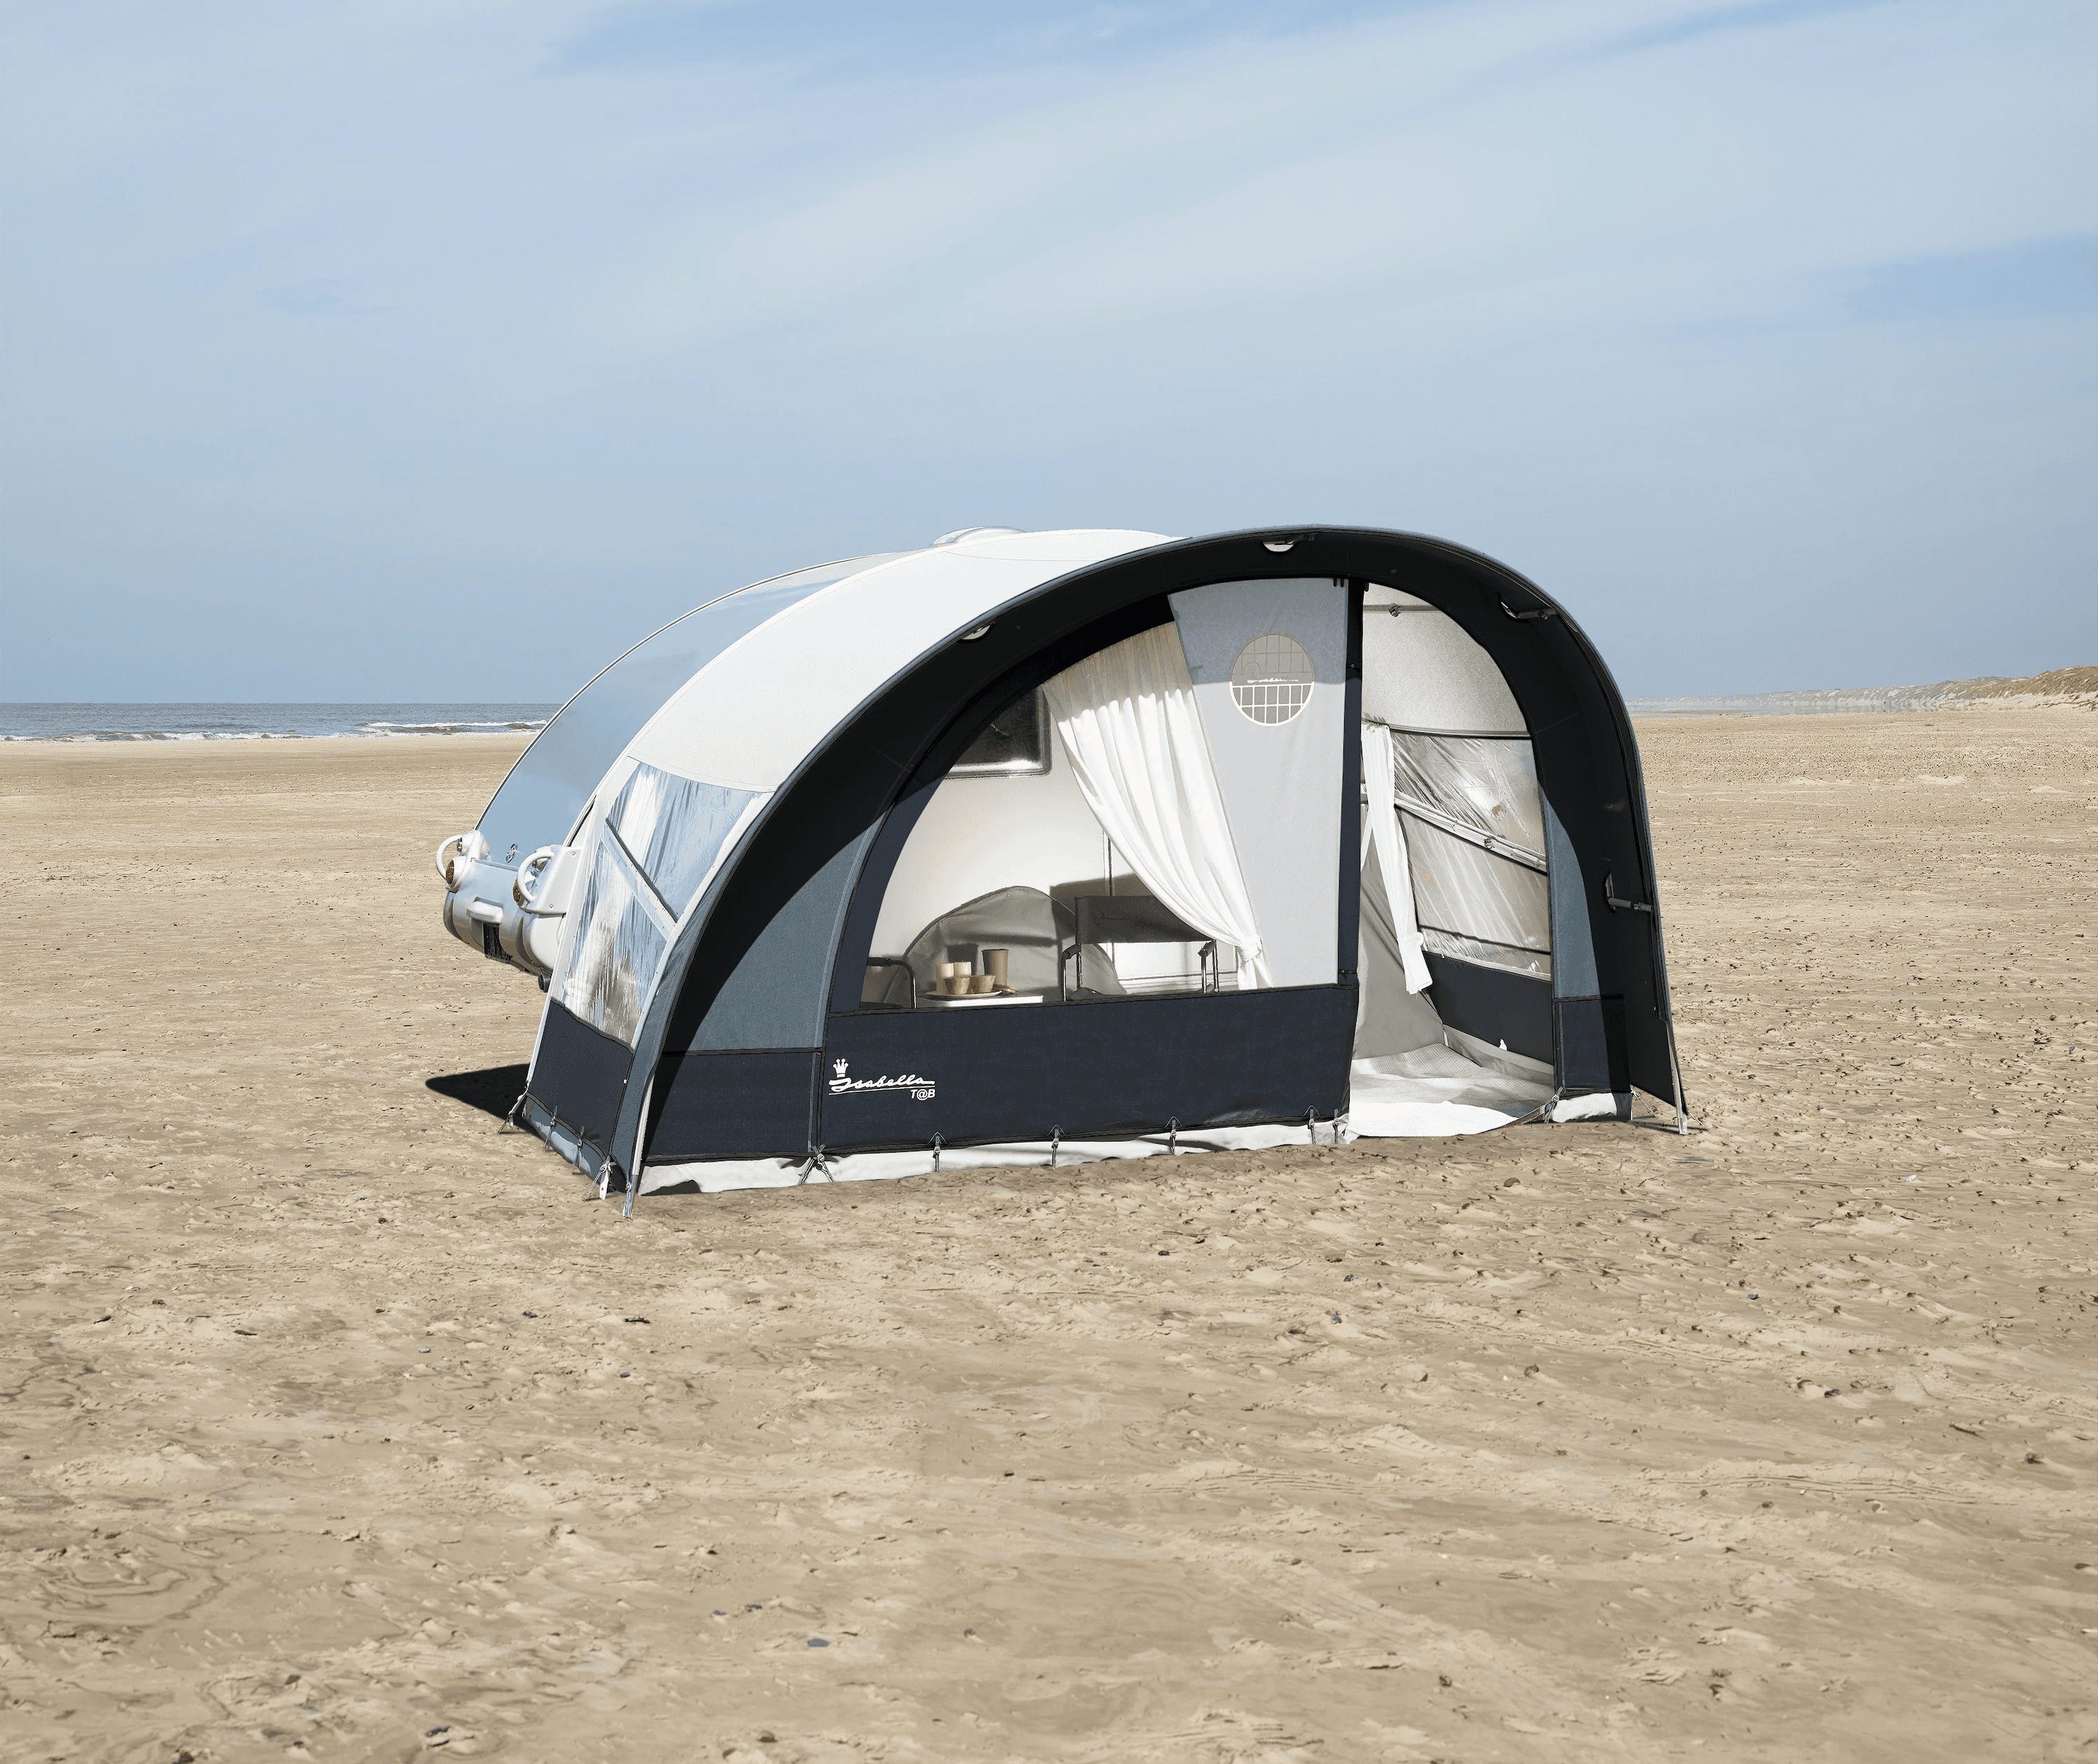
The T@B Sun Canopy is an open shade structure that follows the teardrop roofline of the T@B 320 and T@B 400. Unlike a generic canopy, this one was engineered specifically around the T@B's curves and attachment points. It is not adapted to fit, it is designed to fit.
The fabric is IsaLite, a UV-resistant polyester chosen for sustained exposure across seasons. It handles repeated setup cycles without losing shape or fading. The frame uses a mix of CarbonX fiberglass poles and a curved aluminum frame, which keep the weight low without sacrificing stability.
What it creates is a shaded outdoor area beside the trailer. Not an enclosed room. A place to be outside, in shade, connected to the trailer. For T@B owners, that describes the majority of their outdoor time.
Which T@B Models It Fits
The Sun Canopy is available in two sizes, one for each T@B trailer model sold in the U.S.
T@B 320: canopy footprint 370 cm (approximately 12 ft). Fits T@B 320 models.
T@B 400: canopy footprint 416 cm (approximately 13.6 ft). Fits T@B 400 models.
What It Does Not Do
The Sun Canopy is shade only. The sides are open. It does not enclose the space or protect against wind-driven rain.
If you want full enclosure, walls, a roof that connects to the trailer, weather protection on three sides, that is what the T@B Deluxe Awning is designed for. IsaGuide T@B Deluxe Awning covers that product in full.
If you want to extend your outdoor living space further using freestanding products, IsaGuide T@B Outdoor living covers Isabella's furniture, windscreens, and carpets that work alongside any T@B setup.
Setting Up the T@B Sun Canopy
Setup follows four stages and typically takes 15 to 20 minutes the first time. Subsequent setups are faster as the sequence becomes familiar.
Stage 1: Lay out the canopy and poles
Unroll the canopy alongside the trailer on the side where it will attach. Lay the pole sections out on the ground in order. Each pole consists of multiple sections that click together. Do not assemble the poles yet, lay the sections flat so you can see the full set before beginning.
Stage 2: Feed the canopy beading into the keder rail
The canopy attaches to the trailer body via a beaded edge that slides into the keder channel running along the T@B roofline. Starting from the rear, feed the beading into the channel opening and work it along the rail until the canopy is fully seated. Keep the fabric relaxed as you feed, forcing it causes the bead to bind.
Stage 3: Assemble and seat the poles using the FiXon2 clip system
Once your sun canopy is centered to your trailer, install the FixOns at each designated place by clipping them onto the plastic beading on the canopy. Insert the curved metal ends of the Carbon-X poles into each FixOn and let them hang. Slide the aluminum poles through the front of the sun canopy, then begin attaching each CarbonX roof pole to the aluminum curved front pole. Create tension on the roof by using force to stretch the Cabon-X pole before clasping shut.
Stage 4: Peg and tension
The pole bases seat into ground anchors. Peg each anchor point. The canopy includes guy ropes at the outer poles for additional stability in wind. Attach and tension the guy ropes, then do a final check of the zip connection and all clip locks before considering setup complete.
Packing Down
Reverse the setup sequence: release guy ropes and remove pegs, release the roof poles and let them hang from the FixOns, unzip the curved aluminum pole, remove the FixOns, and slide out the sun canopy from the keder rail. Wipe down the fabric and poles if wet before packing. The canopy and poles pack into the supplied carry bag.
Never pack the canopy while it is damp. If you cannot dry it on site before departure, drape it loosely in the tow vehicle and dry it fully before storing. Storing damp accelerates mildew.